...
- Open up ProTrack and Log in.
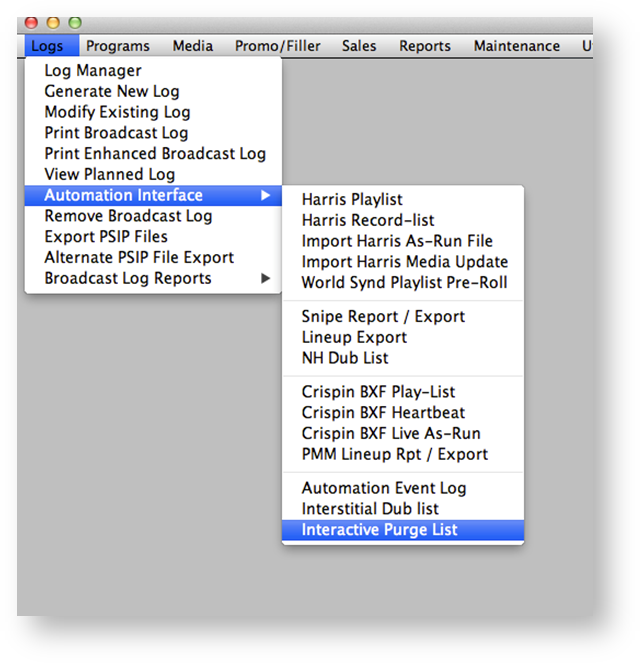
- In the main menu, go to ‘Logs’, then ‘Automation Interface’ and click on ‘Interactive Purge List’.

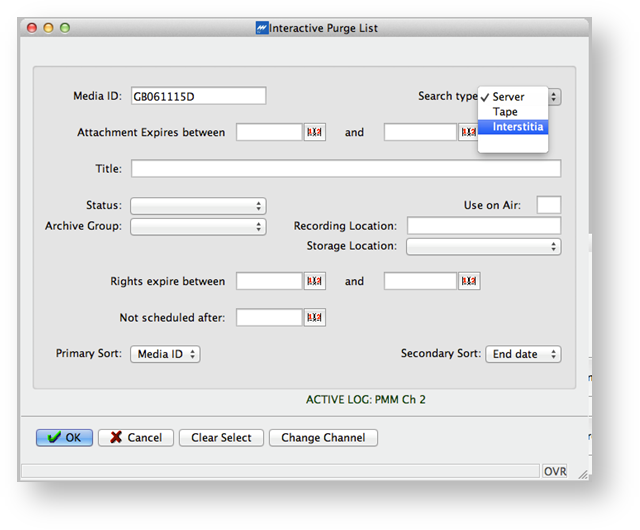
- Type the media ID into the media ID field. Select the appropriate media type from the dropdown menu on the right. Server should be used for program material, and Interstitial for break elements. Click Ok when ready.

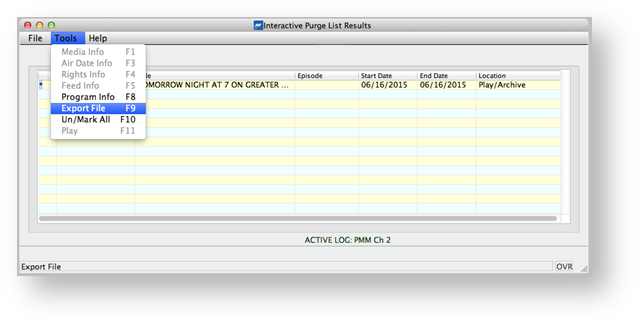
- The resulting matches will be displayed in a new window. To mark an item for purge, click the box to the left of the Media ID and press space. An asterisk will appear in the box.


- Once you have marked all items that you wish to purge, go to Tools, then select Export file. Alternatively you can press the F9 key.

- A prompt will appear asking if you want to send over the purge request(s). If an item that has been selected to be purged has a future airdate scheduled, a prompt will appear for that item, informing you that it is scheduled. Click yes to send over the purge request for that item, or no to cancel the request. Once the purge request has been approved, a purge order will be sent over to Crispin’s Loading Dock, and you can monitor the progress of the purge from there. Once an item has been purged, a new version of it may be ingested, by following the procedure listed in the File-Based Ingest article.